beauty
Rock Spring’s Hottest Colors…On Your Nails
Apr 4th
I have a confession to make: I’m obsessed with nail polish. I’m not joking when I say I have at least 50 bottles. I spend more time perusing the nail polish aisle of CVS and Sephora than any normal person should. I don’t know why or how this obsession started, but there’s no stopping it. And, just like clothes, nail polish colors go in and out of style, meaning I’m always looking for the newest hue to paint on my fingers and toes.
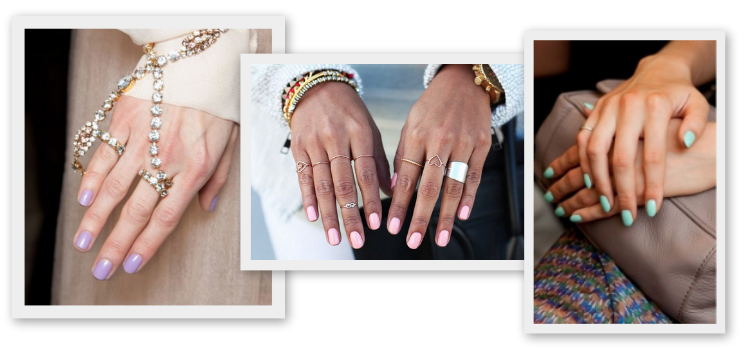
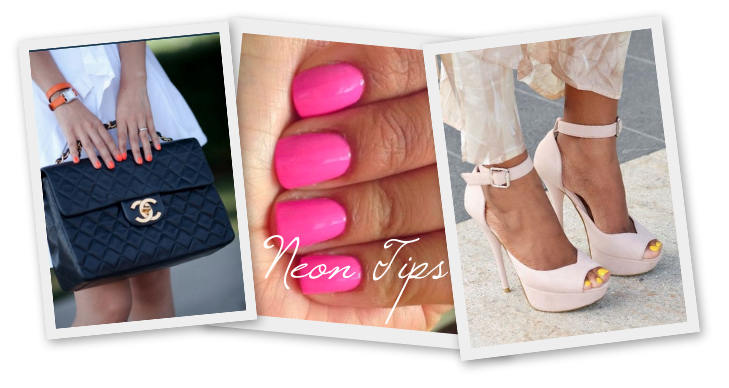
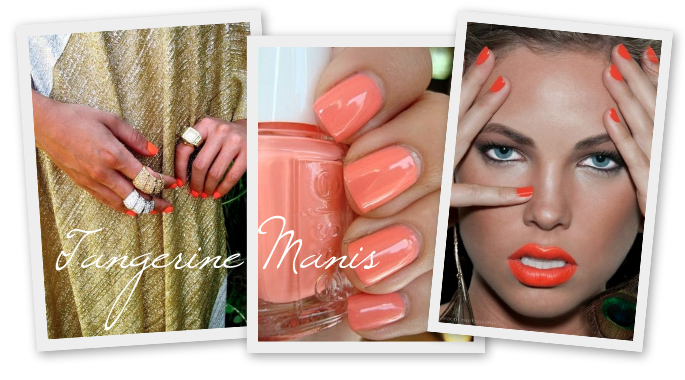
When the weather gets nicer, we discard our harsh black winter coats and thick gray sweaters for lighter, sunnier clothes. Nail polishes are no different. If you’re not afraid of a little color, this season is the time to go for it! Pastel nail colors are a great way to transition from winter to spring without worrying about your nails looking too bright. My favorite pastel colors are mint green and lilac, but if wearing nontraditional nail colors isn’t work-appropriate, pale pink is just as lovely. Want your fingers and toes to stand out a little more? Orange is one of this season’s hottest colors, and looks fantastic on the nails. If you’re even more daring, give a neon manicure a try. Neon colors are one of spring’s biggest fashion trends, and automatically add a pop to any outfit (remember my earlier post about all-white monochrome? Imagine that with a hot pink manicure—awesome!).
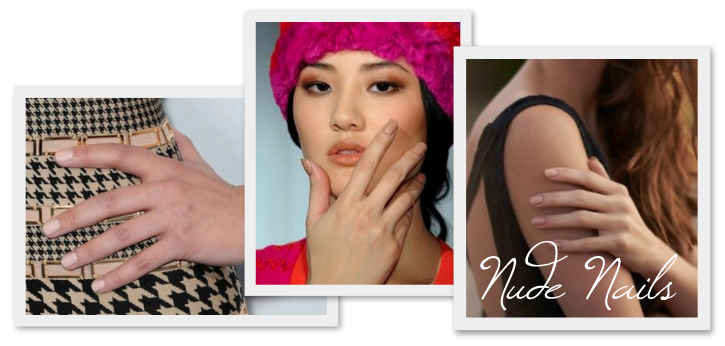
Not so much into highlighter or Easter egg-colored nails? Spring nail polish trends don’t just stop there. Nude polishes are just as trendy, and add an air of sophistication to any manicure; plus, they make fingers look longer and slimmer (and you don’t have to worry about clashing with your outfit!).
Whether you choose to rock a color or keep it chic and simple in a neutral shade, make sure your nails are just as ready for spring as you are!
~Alyssa, fashioniSTA
(Image credits: http://fashion-ocd.tumblr.com/, obaz.com, flare.com, pinterest.com, sarahpatricia.com.au)
Trending Topic Tips: Caviar Manicures
Jul 16th
Thanks to Pinterest, nails are having their moment in the sun. The latest advance? Caviar manicures - which are basically bead-topped nail art, designed to give your nails a little added drama and dimension. The back story is that the Creative Director of Ciaté - the company pioneering this trend - wanted a 3D manicure for a magazine cover shoot, and the rest is history. Since we love anything that remotely looks like sparkles, we took on the trend first-hand, and we’re here with some key caviar tips to make you all experts in the manicure field.
Tip #1: READ THE INSTRUCTIONS. While I’m more of a trial and error type of person, my fashionable best friend (who purchased the Caviar Manicure kit) insisted we read the directions, and I begrudgingly admit now that it was the better road to take.
Tip #2: Unless you have an affinity for sparkles and bright colors, go with the neutral black for all occasions or the sleek white for your Miami-themed parties. The rainbow version’s base coat is more “Pepto Pink” than given name “Strawberry Milkshake.”
Tip #3: Use a large, flat surface such as a kitchen island. Many a trendsetter found herself with a lapful of beads after just a small flick of the wrist.
Tip #4: When applying the beads, it’s better to over-pour than to realize only three beads are going to stick, you only have a few seconds before the base coat dries.
Tip #5: Apply a clear top coat to the very edge of your nails only! Should you swipe a top coat on the entire nail, the color will run from the beads and your nail will look like a kindergardener painted them (not that this happened to me or anything).
Tip #6: Allow your nails to dry for at least 20 minutes, unless you want your kitchen floor coated with beads (again, not that this happened to us or anything).
Tip #7: Your nails will feel like there’s some sort of growth on them. Do not be alarmed, especially when you wake up the next morning and forget you’ve caviared them.
Tip #8: The more you wash your hands, the more the color from the beads will run onto the base coat. While this changes the look slightly, when beads fall off it won’t be as noticeable.
Tip #9: While the package says this manicure lasts up to 48 hours, you can stretch it to 72 hours if you don’t mind if the beads start falling off (which starts to happen about 10 minutes after application). That being said…
Tip #10: Reserve this for a special occasion, it’s a good amount of work for just two days at the office.
Check out the photo set above which chronicles our journey with caviar nails, from just applied (upper right-hand corner) to one day after (bottom left-hand corner) to two days after (bottom right-hand corner). Share your caviar manicure success - or horror - stories with us on Facebook at www.facebook.com/STAconsignment!
~Ashley, FashioniSTA
Fight Breast Cancer with Fashion
Oct 25th
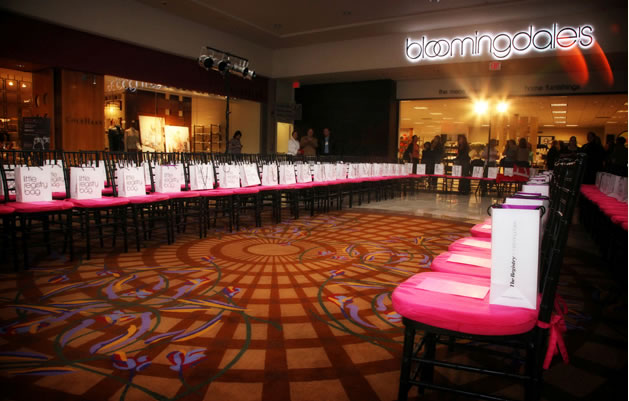
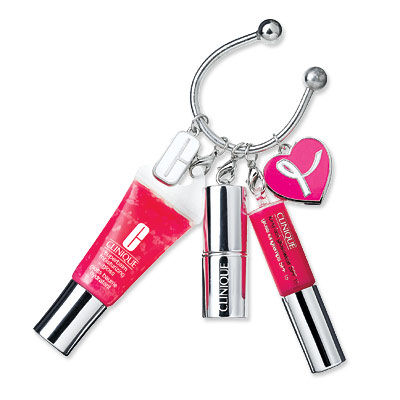
Pink is October’s signature color, and products that benefit Breast Cancer research are popping up everywhere. Beauty supplies, jewelry and clothing, and even home goods are doing double duty by looking great and supporting a worthwhile cause. A true fashionista cares about her wardrobe and the wellbeing of others, so do both with select products from some of our favorite brands. From Estée Lauder to Tory Burch, these designers are reaching out to give even more pink support to October.
If beauty products aren’t your thing, there are clothing options as well. Hit the gym with Under Armour shorts ($30, 10% going to breast cancer charities) or an Ellsworth Project Pink workout tank ($60, 20% benefitting breast cancer research). Or take Line & Dot flowy magenta tank out on the town ($74, 20% going to Susan G. Komen for the Cure). Yumi Kim also has a great floral blouse option ($138, perfect for a day at the office with a pencil skirt or a pair of jeans for the weekend. You can also take the cure close to your heart – and body – with Wacoal’s hot pink lace bra ($2 goes to Komen).
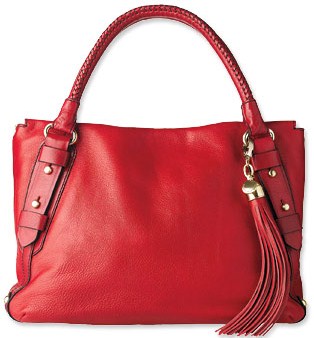
Since we’d never want to give accessories the cold shoulder, of course we have to include the great handbags and shoes that we found to benefit the cause. Tommy Hilfiger has a red leather bag (right), perfect for fall and all of your fall essentials for $398 with 50% of the proceeds going to Breast Health International. Coach also features a pink leather Mia bag, for those of you who want to embrace October’s signature color, in both large ($358, 20% goes to BCRF) and mini ($198). Should you be all set in the handbag department, go for Tory Burch’s Pink Logo rain boots ($150, 15% benefits BCRF) and umbrella option ($45) and hit the stormy weather in style.
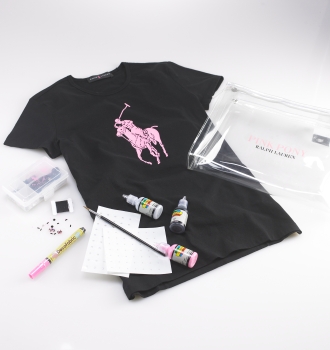
As always, Ralph Lauren’s Pink Pony collection benefits the cause, with products ranging from cashmere to candles. 10% of the proceeds go to benefit cancer care and prevention, and as a special edition product, 100% of the sales of their Pink Pony Alligator Wallet ($3995) will go to the cause. Can’t pony up that kind of cash? One of my favorite products that they offer is the “Decorate Your Pink Pony Tee” ($150). Not only do you get the signature Pink Pony black tee, but it’s also like arts and crafts for adults. They had me hooked when they included individual crystals.
Remember, you can always support Breast Cancer Awareness Month with us at Second Time Around. Pick up a pink wristband at any of our stores, and while you’re there, browse for a pop of pink to add to your wardrobe!
~Ashley, fashioniSTA, Second Time Around
Define Your Brows at Home
Aug 5th
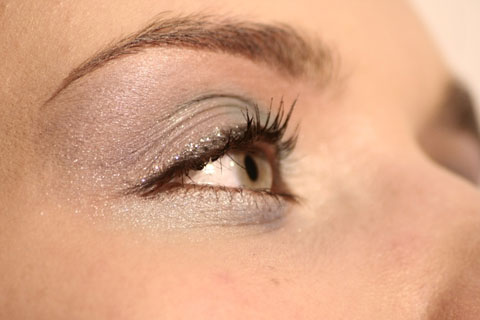
I don’t know about you ladies, but I’m clinically obsessed with my eyebrows. I tweeze my eyebrows every other day and I wax religiously every two weeks – fair warning: don’t get into my habit. You can achieve great eyebrows without even doing any of that nitty gritty stuff. Eyebrows can give your face a definitive look and bring light to your face. I’ve become an expert on achieving a great brow and I’ll show you how with five easy steps, and soon you’ll be on your way to great looking eyebrows.
1. Have an idea as to how you want your eyebrows to look, you can’t go into it without at least knowing what you’re getting into, because it can turn into a disaster. Riffle through some magazines and see what you find. Look for models or celebrities with your face shape who have similar features to you, and find the type of shape that you like.
2. Once you know which eyebrows you would like to model yours after, you can focus on shading. Look at the color of your eyebrows and determine what shade you need to achieve a natural look, try to get as close as your natural eyebrow color. Blondes; depending on how light your eyebrows already are, your best option is only one shade darker.
3. Decide if you want to do eye shadowing or eye penciling. They both give an eye brow a definitive look but there is a difference. Eye shadowing gives a natural look; eye penciling can give a clean but stern look. It’s important to keep in mind that with eye shadowing you must use a small soft brush and lightly coat and not douse the eye brow. Using a brow pencil entails precision, a steady hand and a firm approach. Remember when applying pencil, do not press hard on the pencil this will cause it to look fake and matted, press lightly it doesn’t take much to get a result from an eye brow pencil. It’s a great way to get a very edgy look.
4. When applying either shadow or pencil always start in the middle and work your way to the tip then back again to the beginning. This helps you fill in the spaces that need shading.
5. Q-tips are your best friends. If your eyebrows are too dark you can dab the Q-tip on your eyebrows and fix the shaping as you go.
You don’t have to be a celebrity to get traffic-stopping brows!
~Leslie, fashioniSTA, Second Time Around
Clinique’s Even Better Clinical Dark Spot Corrector
Jul 28th
Let’s face it; we all are guilty of mistreating our skin from time to time. Whether you used tanning booths in college or have a tendency to poke and prod blemishes instead of just leaving them alone, we are all guilty of subjecting our skin to potential damage. The results of this damage often appear as dark spots due to the extra melanin that is produced at areas of trauma.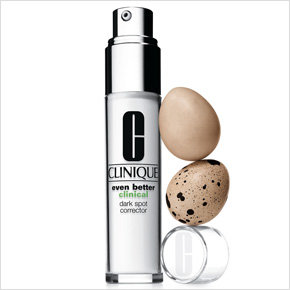
Wishing you could turn back time and erase those dark spots? Well, now you can!
Clinique’s Even Better Clinical Dark Spot Corrector is a fragrance free skin cream that can be used by all ethnicities and even by people with the most sensitive of skin. Visible improvements should be noticed in as little as 4 weeks and major improvements should be noticed in 12 weeks. Best of all, it lacks the harsh chemicals that many prescriptive creams contain, but will produce comparable results without the Doctor’s visit or the discomfort.
All of the reviews on Sephora.com corroborated the claims made by Clinique and sounded very positive. As a result, I recently purchased some for myself at Sephora. I haven’t been using it long enough to see a change in my complexion, but it is a gentle face lotion that is moisturizing without being greasy.
So far, so good…but I will keep you informed…
~Marisa, Director of Styling, Second Time Around

