Posts tagged manicure
How To: Wear Spikes and Studs
Dec 11th
Spikes and studs used to express somewhat of an emo look now they are the hottest design around! People are dying to wear spikes and studs on anything from head to toe ranging from earrings to headbands to jackets to bags. Basically, you can add studs to any item of your wardrobe and it will be deemed fashionable. Depending on how style daring you are there many different routes you can take to pull off the spikes or studs trend.
If you are that typical trend-setter…
You’re always wanting to be the first one to show off that new style now matter how crazy it may look. And with this trend, there are many different ways you assert your style status while showing off your love for spikes and studs.
Going with an all-over spiked shoe is a great statement piece, whether you go with traditional metallic spikes or a monochromatic look as seen in picture number one above (Christian Louboutin Pigalle Spikes Fluorescent Patent Red Sole Pump, $1,195). Should you want to take it one step further and you’re not afraid of a little height, try out Jeffrey Campbell’s Spiked Lita Boot ($195).
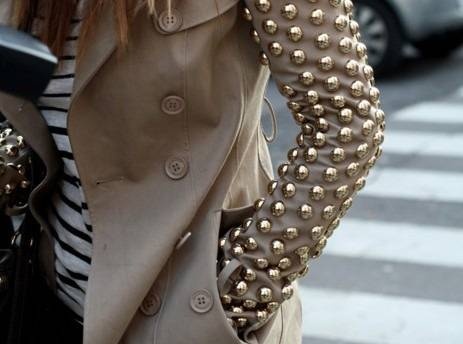
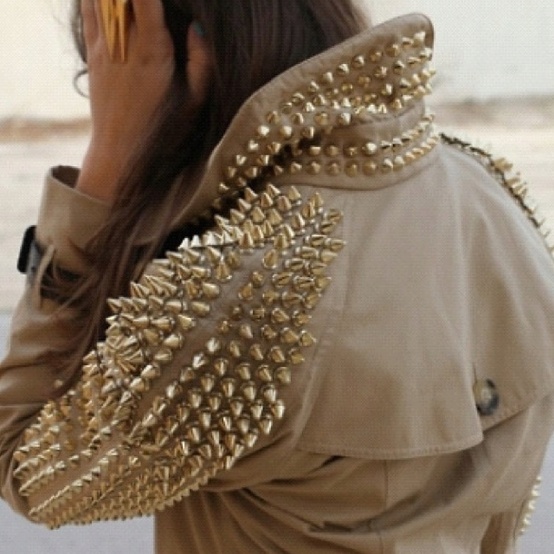 A blazer or jacket with arm/ shoulder studs could be paired beautifully with black skinny jeans, a white shirt/sweater for a stark style, or even a simple black dress and heels for evening attire.
If you are more of a budding trend-lover…
You’re someone who likes certain styles once they have caught on and become popular. You are more likely to carry a bag like number four above (Mango Spiked Bowling Bag, $110, Mango.com). A bag of this size and detail is multi-purposed - great for going out shopping or even a carry-on bag for traveling.
Other items that a budding trend-lover could be seen wearing are:
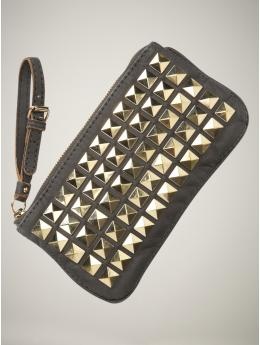
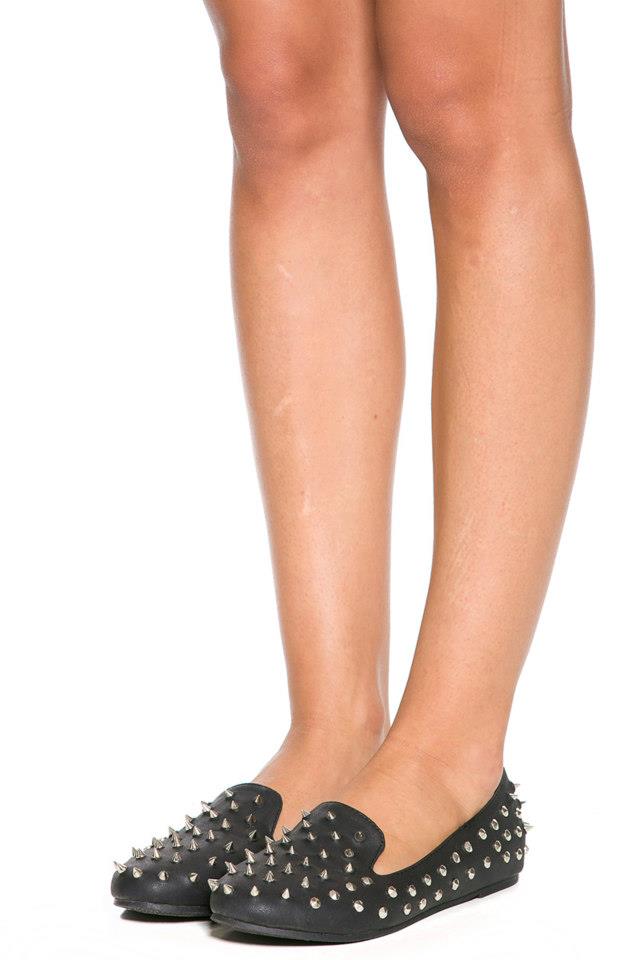
Studded or spiked wristlet and flats - The wristlet on the left could go with just about any outfit to add some emotion and eye-catching shine. The flats on the right would go great with black shorts or even a shirt and sweater. Add a pendant necklace and you’re sure to catch some attention with just those few details.
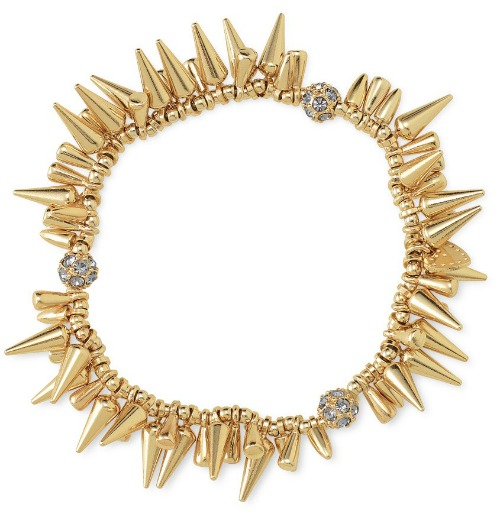
Spiked jewelry - If donning spikes on your bag or shoes is too much for you to handle but you still want to follow this obsession, the best thing to do is incorporate it into your jewelry. When wearing spiked bracelets the best thing to do is stack them as shown above to give an even fuller look. As shown in box number two in the graphic above, you can try spiked bangles (the ones above are ASOS spiked stretch bracelets $14, and the photo below is Stella & Dot’s Renegade bracelet $59), or your can ode the ’80s with earring like in box number three (these are Jenni Design Spiked Earrings $16).
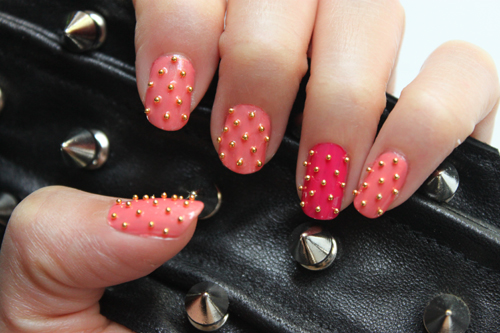
Studded manicures - Giving your nails some stud love is also a more low-key way to try the trend (shown below), and we found one of the best studded manicure tutorials here on Lulu’s Blog. Its very eye catching but make sure not to puncture someone while giving a friendly handshake!
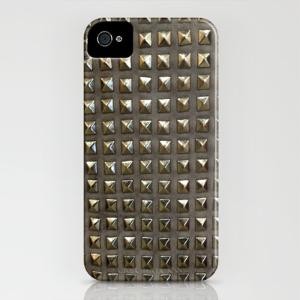
Electronic accessories - Phone cases are a great item to show off your love for spikes and studs it looks great but is something that is not constantly being shown off. People will notice it when you whip your phone out for a quick call or text message but then you can top it back into our purse once its seen.
~Jenna, fashioniSTA
How To: Halloween-ize your Work Attire
Oct 29th
In a professional environment such as work or school, you want to maintain a sophisticated look but you can’t let your Halloween spirit down! Here are the top ways to spruce up your outfit, get in the holiday groove, yet still look like you belong in an office environment.
Halloween Nail Art:
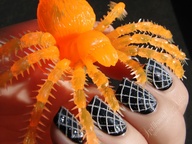
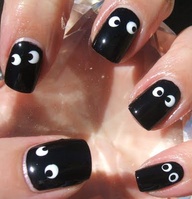
Changing your nail design is one of the best ways to show changes in season, mood, and even holidays. You can go big and paint on ghosts or pumpkins, or you can be subtler with black nail polish with orange glitter on top. For amazing DIY Halloween manicures, visit http://holymanicures.blogspot.com.
Headband:
A nice Halloween designed headband is a discreet way to pull off some Halloween spirit. It also guarantees you a professional/preppy look. One like this is simple, so easily prepared, and even able to be made in the luxury of your own home.
Halloween Tights:
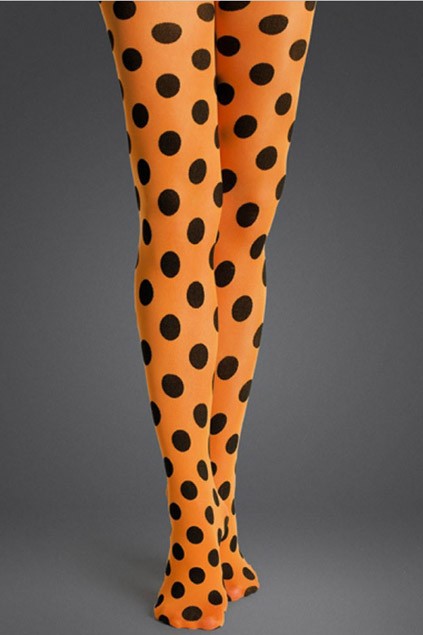
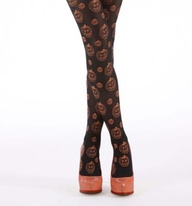
This fall season patterned tights are more popular than ever. Just slip a pair of candy corn or ghost patterned tights under a simple dress and you’re guaranteed to look festive.
Anything Orange:
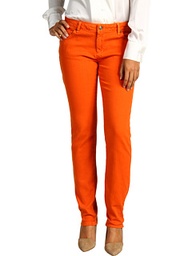
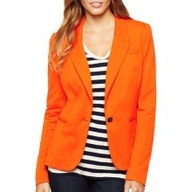
A professional looking orange blazer or a pair of light orange denim jeans could easily do the trick and make you look extra spirited in a somewhat professional manner. An orange cashmere scarf or orange shoe apparel is a more subtle way to look the part.
~Jenna, fashioniSTA
Trending Topic Tips: Caviar Manicures
Jul 16th
Thanks to Pinterest, nails are having their moment in the sun. The latest advance? Caviar manicures - which are basically bead-topped nail art, designed to give your nails a little added drama and dimension. The back story is that the Creative Director of Ciaté - the company pioneering this trend - wanted a 3D manicure for a magazine cover shoot, and the rest is history. Since we love anything that remotely looks like sparkles, we took on the trend first-hand, and we’re here with some key caviar tips to make you all experts in the manicure field.
Tip #1: READ THE INSTRUCTIONS. While I’m more of a trial and error type of person, my fashionable best friend (who purchased the Caviar Manicure kit) insisted we read the directions, and I begrudgingly admit now that it was the better road to take.
Tip #2: Unless you have an affinity for sparkles and bright colors, go with the neutral black for all occasions or the sleek white for your Miami-themed parties. The rainbow version’s base coat is more “Pepto Pink” than given name “Strawberry Milkshake.”
Tip #3: Use a large, flat surface such as a kitchen island. Many a trendsetter found herself with a lapful of beads after just a small flick of the wrist.
Tip #4: When applying the beads, it’s better to over-pour than to realize only three beads are going to stick, you only have a few seconds before the base coat dries.
Tip #5: Apply a clear top coat to the very edge of your nails only! Should you swipe a top coat on the entire nail, the color will run from the beads and your nail will look like a kindergardener painted them (not that this happened to me or anything).
Tip #6: Allow your nails to dry for at least 20 minutes, unless you want your kitchen floor coated with beads (again, not that this happened to us or anything).
Tip #7: Your nails will feel like there’s some sort of growth on them. Do not be alarmed, especially when you wake up the next morning and forget you’ve caviared them.
Tip #8: The more you wash your hands, the more the color from the beads will run onto the base coat. While this changes the look slightly, when beads fall off it won’t be as noticeable.
Tip #9: While the package says this manicure lasts up to 48 hours, you can stretch it to 72 hours if you don’t mind if the beads start falling off (which starts to happen about 10 minutes after application). That being said…
Tip #10: Reserve this for a special occasion, it’s a good amount of work for just two days at the office.
Check out the photo set above which chronicles our journey with caviar nails, from just applied (upper right-hand corner) to one day after (bottom left-hand corner) to two days after (bottom right-hand corner). Share your caviar manicure success - or horror - stories with us on Facebook at www.facebook.com/STAconsignment!
~Ashley, FashioniSTA


